
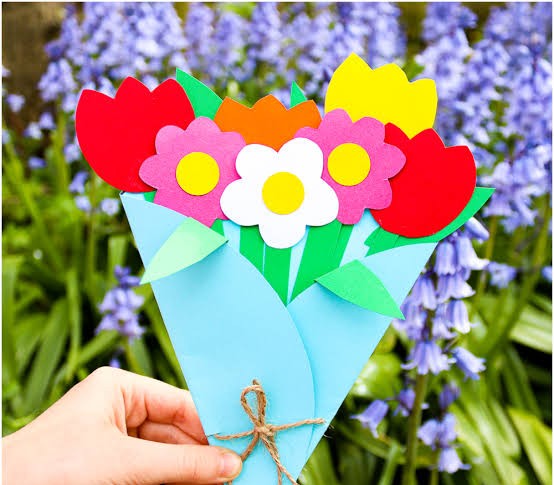
DIY Paper Flower Bouquet | Easy Paper Flower Craft for Everyone
Materials You’ll Need
Before starting, gather these basic supplies:
- Colored construction paper or craft paper
- Green paper for stems and leaves
- Child-safe scissors
- Glue stick or craft glue
- Pencil
- Ruler
- Wooden skewers or paper straws for stems
- Floral tape or green paper strips (optional)
- Ribbon for wrapping the bouquet (optional)
For a softer, more realistic appearance, use lightweight crepe paper. Standard construction paper is a great choice for beginner-friendly flowers with sturdy petals.
Safety tip: Children should use scissors under adult supervision. If using wooden skewers, make sure the pointed ends are covered or removed.
How to Make a DIY Paper Flower Bouquet
This simple paper flower project uses layered petals to create a cheerful flower that you can repeat to build a complete bouquet.
Step 1: Choose Your Flower Colors
Select two or three coordinating colors for your flowers. Pink, yellow, purple, red, and white are beautiful choices.
You can make every flower the same color for a classic look or mix several shades for a bright, cheerful bouquet.
Place your paper on a clean, flat surface before beginning.
Step 2: Draw and Cut the Petals
Use a pencil to draw several petal shapes on your colored paper. You can make rounded petals, pointed petals, or heart-shaped petals depending on the style you prefer.
Cut out approximately 6–10 petals for each flower.
Don’t worry if the petals aren’t perfectly identical. Small differences can give handmade flowers a natural appearance.
For younger children, an adult can prepare the petal shapes in advance.
Step 3: Create the Flower Center
Cut a small circle from a contrasting color of paper. This will become the center of your flower.
For a decorative effect, cut a narrow strip of paper, make small cuts along one edge without cutting all the way through, and roll it into a tight spiral. The fringed edge creates a textured flower center.
Secure the roll with a little glue.
Step 4: Arrange and Glue the Petals
Place the petals in a circle, slightly overlapping their inner ends around the flower center.
Glue the petals together one at a time, working around the circle.
For a fuller flower, add a second layer of petals behind the first. Position the new petals between the gaps of the first layer to create a more dimensional appearance.
Press gently and allow the glue to dry.