
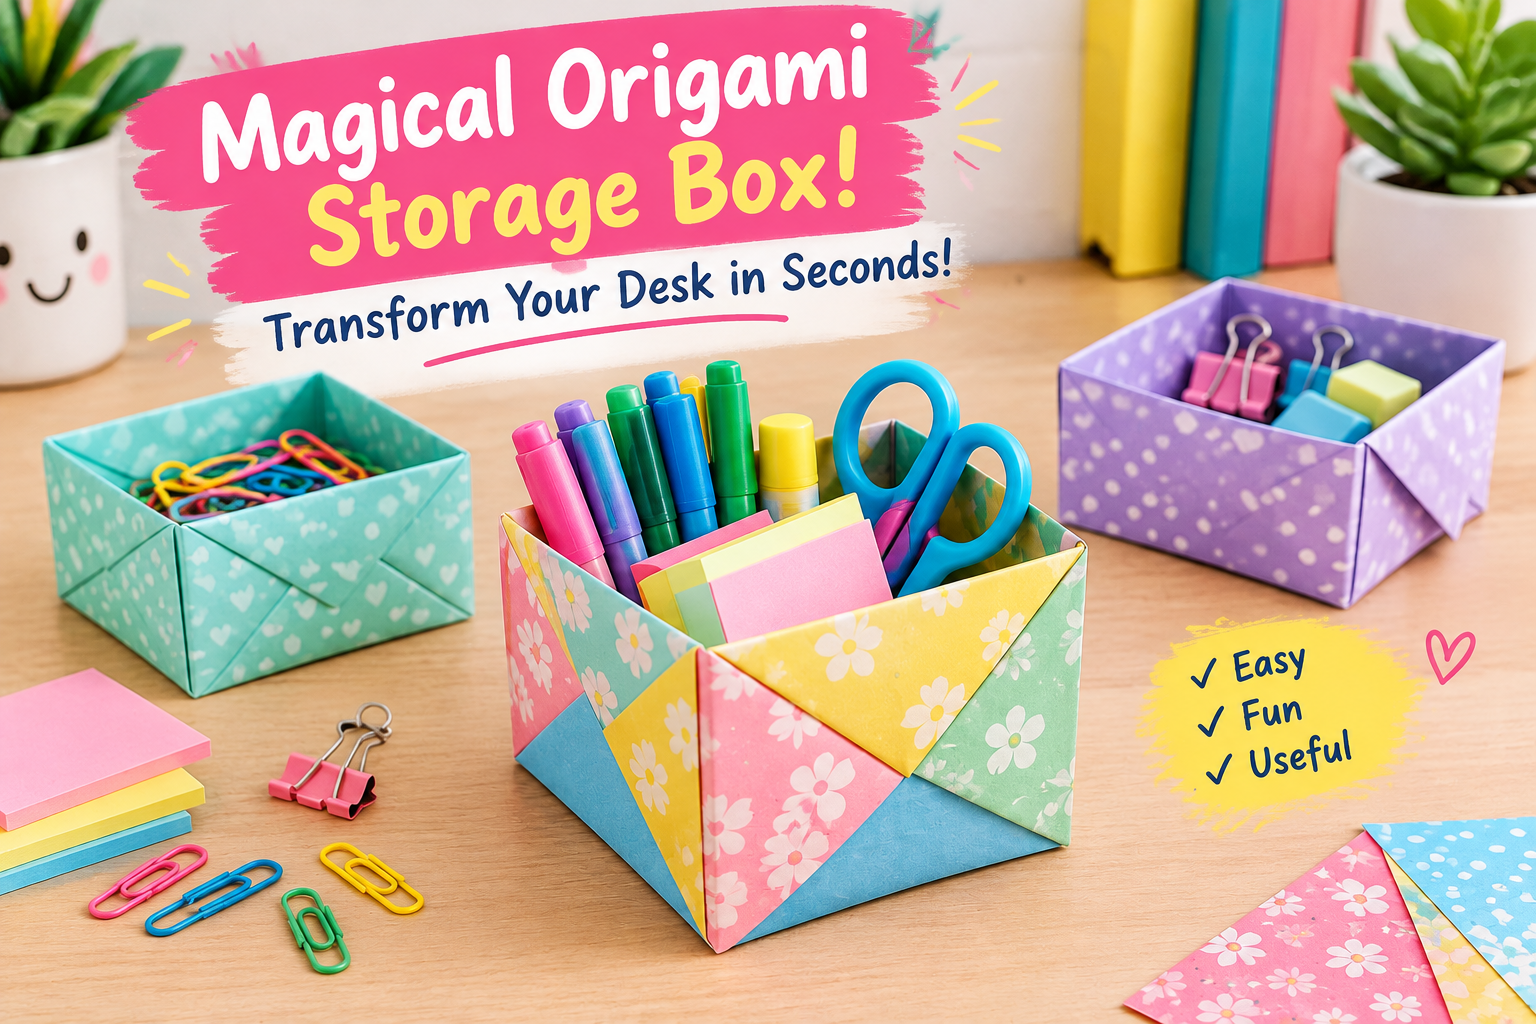
Magical Origami Storage Box! Transform Your Desk in Seconds!
Creative Ways to Use Your Origami Box
Once you’ve made your first box, you’ll discover plenty of practical ways to use it around your home.
1. Organize Your Desk
Keep paper clips, erasers, rubber bands, pushpins, and other small office supplies together. Make several small boxes to separate different items.
2. Store Jewelry and Accessories
A decorative paper box can hold lightweight earrings, rings, hair clips, and other small accessories. For valuable jewelry, choose a more secure storage option.
3. Create a Study Station
Students can use origami boxes to organize sharpeners, sticky notes, flashcards, and other study essentials.
Make one box for each category to keep your study space tidy.
4. Make a Handmade Gift Box
Choose beautiful patterned paper to create a small box for a handmade gift, a note, or another lightweight item.
A handmade container adds a personal touch to birthdays, celebrations, and other special occasions.
5. Organize Your Craft Supplies
Use the boxes to separate beads, buttons, paper decorations, and other lightweight craft materials. Label each box so you can find what you need quickly.
Keep in mind that paper boxes are not waterproof and are best suited to dry, lightweight items.
Tips for Making a Stronger Origami Box
Want your storage box to look neat and last longer? These simple tips can help.
- Choose suitable paper: Medium-weight paper offers a good balance between easy folding and durability.
- Make sharp creases: Press each fold firmly with your fingertips or a ruler.
- Keep the folds symmetrical: Align the edges and corners carefully.
- Use larger paper for bigger items: A larger starting square creates a larger box, although the finished dimensions depend on the folding design.
- Reinforce the base: For extra support, place a small square of cardboard inside the bottom.
- Keep it dry: Moisture can weaken paper and distort the box’s shape.
If you’re crafting with children, let them choose their favorite colors and decorate their finished boxes. Younger children may need help with precise folds.
Fun Variations to Try
After mastering the basic design, experiment with different styles.
Colorful origami boxes: Use bright colors to create a cheerful desk organizer.
Patterned paper boxes: Choose floral, geometric, or illustrated paper to match your workspace.
Mini storage boxes: Start with smaller sheets to make tiny containers for lightweight items.
Matching box sets: Make several boxes in different sizes to organize a drawer or desk.
Origami gift boxes: Use elegant paper and coordinated colors for a handmade presentation.
You can also challenge friends or family members to create their own designs and compare the results.
Frequently Asked Questions
How long does it take to make an origami storage box?
A simple box usually takes around 5–15 minutes, depending on your experience and the folding design.
Can beginners make an origami box?
Yes! Basic origami boxes are suitable for beginners. Start with a straightforward design, use square paper, and make each crease carefully.
What type of paper works best?
Standard origami paper is an excellent choice. Lightweight construction paper or other medium-weight craft paper may also work, provided it folds neatly.
Can I make the box without glue?
Yes. Traditional origami relies on folding rather than glue. However, some variations use a small amount of adhesive to reinforce corners.
Is an origami box strong enough for heavy items?
No. A paper box is best for lightweight objects such as paper clips, erasers, and small accessories. Use a sturdier container for heavier items.
Can I make a lid for my origami storage box?
Yes. Make a second box using a slightly larger square of paper so it can fit over the first one. The exact size difference depends on your paper thickness and folding pattern.
Final Thoughts
This magical origami storage box proves that a simple sheet of paper can become something practical and beautiful. With a few careful folds, you can create a personalized organizer that helps keep your desk tidy without spending money on expensive storage products.
Whether you’re making one box for your study supplies or creating a colorful collection for your workspace, this DIY project is an easy way to combine creativity and organization.
Gather your favorite paper, follow the folding steps, and enjoy transforming your desk one little box at a time!
Ready to try it? Make your own origami storage box and share your favorite colors or patterns in the comments. Save this idea for your next creative afternoon!