
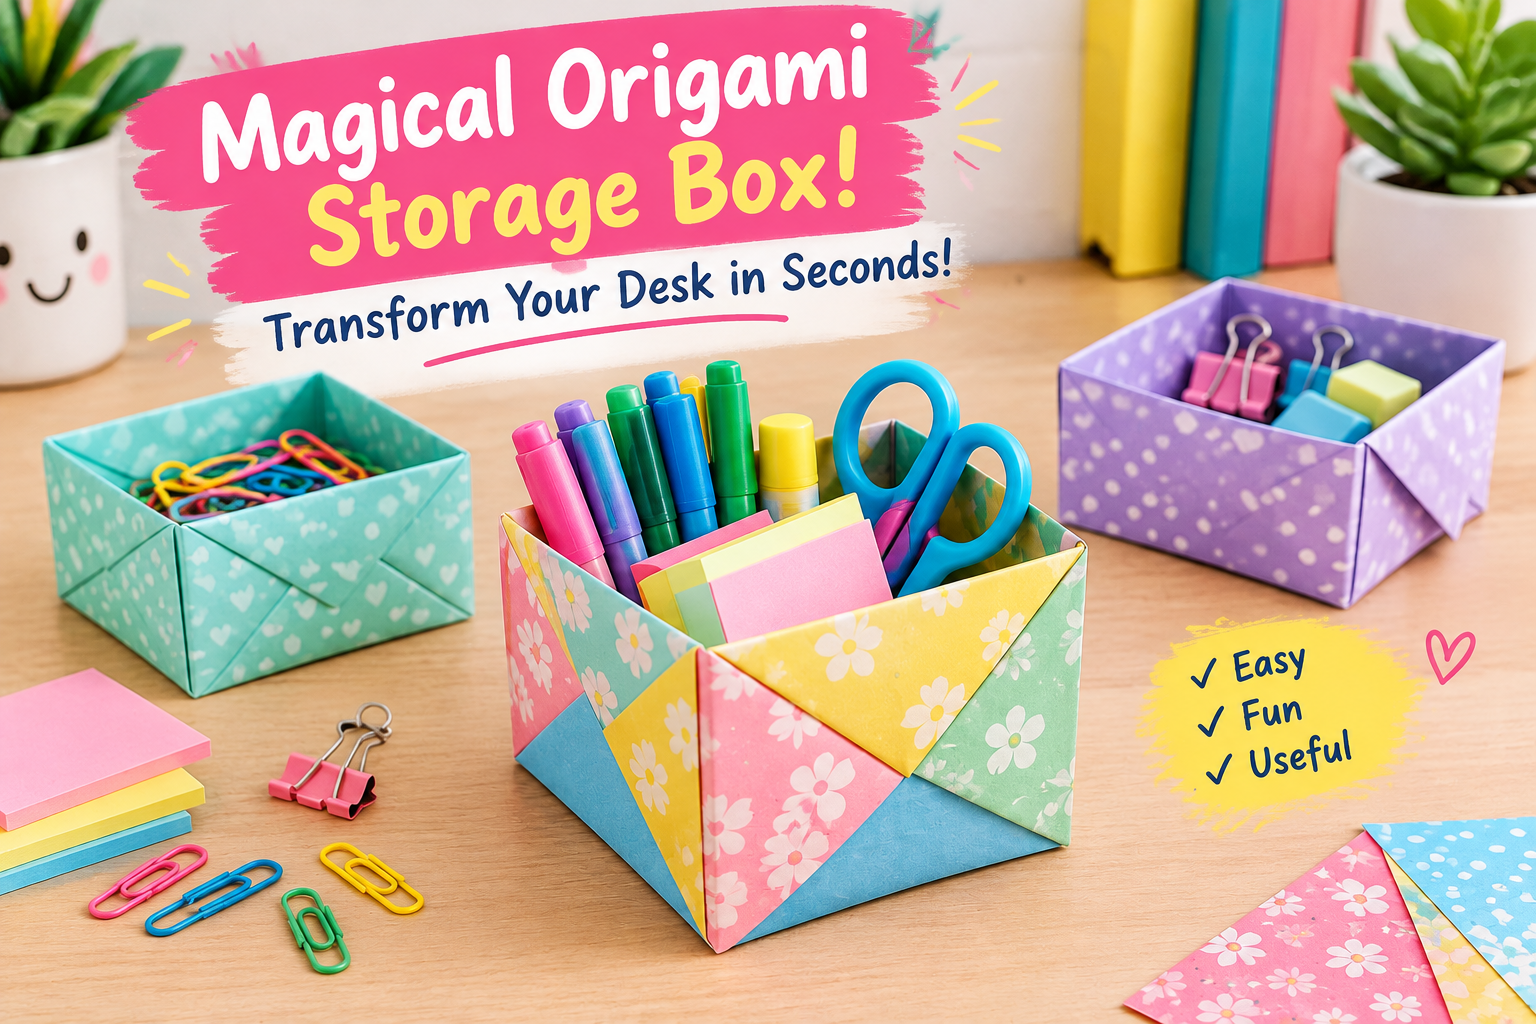
Magical Origami Storage Box! Transform Your Desk in Seconds!
Step 2: Fold the Paper in Half
Fold the paper in half horizontally, bringing one edge to meet the opposite edge. Press along the fold to create a clear crease.
Unfold the paper and repeat vertically. Open it again so you can see the crease lines crossing in the center.
These lines will help guide the next folds.
Step 3: Fold the Corners Toward the Center
Bring each of the four corners toward the center point where the creases meet.
Press each fold firmly. Your paper should now look like a smaller square.
Make sure the corners meet neatly in the middle for a balanced shape.
Step 4: Fold the Edges Inward
Fold the top and bottom edges toward the center line. Crease them carefully, then unfold them.
Repeat the same process with the left and right edges.
These folds create guidelines that will help you shape the sides of the box.
Step 5: Open Two Opposite Sides
Unfold the top and bottom flaps while keeping the left and right corner sections folded toward the center.
Lift one of the remaining folded edges upward to form a wall. Use the existing crease lines to guide the paper into position.
Repeat on the opposite side.
Step 6: Shape the Box Corners
Fold the exposed triangular sections inward to form the ends of the box. Bring the raised walls into position and tuck the triangular flaps neatly against the inside of each wall.
Adjust the paper gently until the box begins to hold its shape.
If the corners feel loose, press the creases again to help them stay in place.
Step 7: Finish and Decorate
Check that all four sides are upright and the base is reasonably flat. Carefully adjust the corners and smooth the bottom.
Your origami storage box is ready!
Decorate it with stickers, small drawings, or colorful patterns if you like. You can also make a second box to use as a matching lid, adjusting the paper size slightly to help it fit over the first box.
Crafting tip: Origami box designs vary, and some require a different folding sequence. If a fold doesn’t match your paper’s shape, return to the previous step and check the creases before continuing.