Skip to content

GET THE BEST RECIPES  IN 2026

alluniquerecipes
  • Home
  • RecipesExpand
    • Beef
    • Chicken Recipes
    • Pasta Recipes
    • Quick & Easy
    • DIY & Crafts
    • Soups & Stews
    • Healthy Recipes
  • Blog
  • About
  • Contact
alluniquerecipes
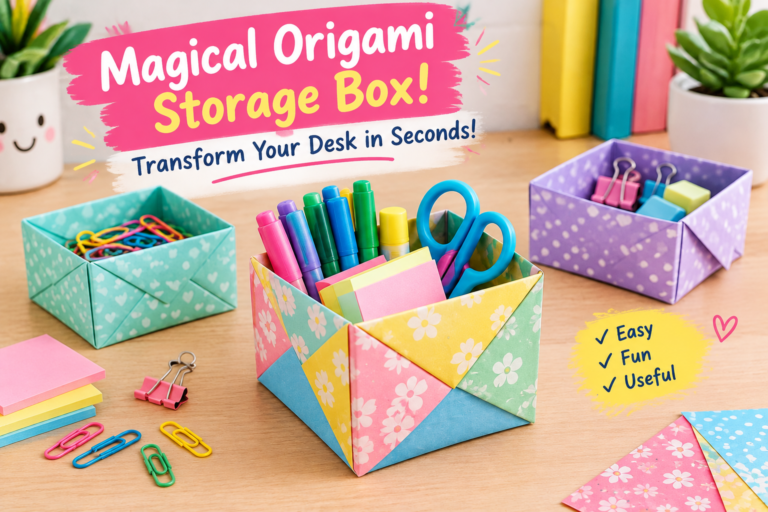
  • # Magical Origami Storage Box! Transform Your Desk in Seconds! Do you want to organize your desk while adding a touch of creativity to your workspace? This magical origami storage box is a simple, beautiful, and budget-friendly DIY project that turns an ordinary sheet of paper into a useful organizer. Whether you need a place for paper clips, erasers, sticky notes, jewelry, or other small items, this handmade paper box is a fun solution. The best part? You don't need expensive supplies, special tools, or advanced crafting skills. With a few folds and a little patience, you can create your own origami storage box in minutes. This easy paper craft is perfect for students, children, teachers, and anyone who enjoys creative DIY projects. Choose colorful paper to match your room, make several boxes in different sizes, and transform a cluttered desk into a neat and attractive workspace. ## Why You'll Love This Origami Storage Box Origami is the traditional Japanese art of paper folding. It transforms flat sheets of paper into useful objects and beautiful designs without requiring complicated equipment. Here are a few reasons to try this project: - **Affordable and easy:** You only need paper and a flat working surface. - **Space-saving:** Store small everyday items neatly in one convenient place. - **Customizable:** Choose colors, patterns, and paper sizes that suit your style. - **Beginner-friendly:** The basic folding technique is suitable for people who are new to origami. - **Eco-friendly:** Reuse suitable sheets of paper or leftover craft paper. - **Fun for all ages:** Make it a relaxing solo activity or a creative family project. Unlike plastic desk organizers, a handmade origami box can be customized whenever you want a new look. You can create a coordinated set using matching paper or mix bright colors for a playful design. ## Materials You'll Need Before starting, gather these simple supplies: - One square sheet of paper - A ruler (optional) - A flat table or desk - Decorative markers or stickers (optional) For beginners, square origami paper measuring approximately 6 × 6 inches is a good starting point. Lightweight paper folds easily, while slightly thicker paper can create a sturdier box. Avoid paper that is too thick, as it may be difficult to fold neatly at the corners. ## How to Make a Simple Origami Storage Box Follow these easy steps to make your own paper organizer. Take your time with each fold because accurate creases help the finished box hold its shape. ### Step 1: Start With Square Paper Place your square sheet of paper on a flat surface. If you're using colored paper, decide which side you want to show on the outside of the finished box. Smooth the paper with your hand to remove any wrinkles. ### Step 2: Fold the Paper in Half Fold the paper in half horizontally, bringing one edge to meet the opposite edge. Press along the fold to create a clear crease. Unfold the paper and repeat vertically. Open it again so you can see the crease lines crossing in the center. These lines will help guide the next folds. ### Step 3: Fold the Corners Toward the Center Bring each of the four corners toward the center point where the creases meet. Press each fold firmly. Your paper should now look like a smaller square. Make sure the corners meet neatly in the middle for a balanced shape. ### Step 4: Fold the Edges Inward Fold the top and bottom edges toward the center line. Crease them carefully, then unfold them. Repeat the same process with the left and right edges. These folds create guidelines that will help you shape the sides of the box. ### Step 5: Open Two Opposite Sides Unfold the top and bottom flaps while keeping the left and right corner sections folded toward the center. Lift one of the remaining folded edges upward to form a wall. Use the existing crease lines to guide the paper into position. Repeat on the opposite side. ### Step 6: Shape the Box Corners Fold the exposed triangular sections inward to form the ends of the box. Bring the raised walls into position and tuck the triangular flaps neatly against the inside of each wall. Adjust the paper gently until the box begins to hold its shape. If the corners feel loose, press the creases again to help them stay in place. ### Step 7: Finish and Decorate Check that all four sides are upright and the base is reasonably flat. Carefully adjust the corners and smooth the bottom. Your origami storage box is ready! Decorate it with stickers, small drawings, or colorful patterns if you like. You can also make a second box to use as a matching lid, adjusting the paper size slightly to help it fit over the first box. **Crafting tip:** Origami box designs vary, and some require a different folding sequence. If a fold doesn't match your paper's shape, return to the previous step and check the creases before continuing. ## Creative Ways to Use Your Origami Box Once you've made your first box, you'll discover plenty of practical ways to use it around your home. ### 1. Organize Your Desk Keep paper clips, erasers, rubber bands, pushpins, and other small office supplies together. Make several small boxes to separate different items. ### 2. Store Jewelry and Accessories A decorative paper box can hold lightweight earrings, rings, hair clips, and other small accessories. For valuable jewelry, choose a more secure storage option. ### 3. Create a Study Station Students can use origami boxes to organize sharpeners, sticky notes, flashcards, and other study essentials. Make one box for each category to keep your study space tidy. ### 4. Make a Handmade Gift Box Choose beautiful patterned paper to create a small box for a handmade gift, a note, or another lightweight item. A handmade container adds a personal touch to birthdays, celebrations, and other special occasions. ### 5. Organize Your Craft Supplies Use the boxes to separate beads, buttons, paper decorations, and other lightweight craft materials. Label each box so you can find what you need quickly. Keep in mind that paper boxes are not waterproof and are best suited to dry, lightweight items. ## Tips for Making a Stronger Origami Box Want your storage box to look neat and last longer? These simple tips can help. - **Choose suitable paper:** Medium-weight paper offers a good balance between easy folding and durability. - **Make sharp creases:** Press each fold firmly with your fingertips or a ruler. - **Keep the folds symmetrical:** Align the edges and corners carefully. - **Use larger paper for bigger items:** A larger starting square creates a larger box, although the finished dimensions depend on the folding design. - **Reinforce the base:** For extra support, place a small square of cardboard inside the bottom. - **Keep it dry:** Moisture can weaken paper and distort the box's shape. If you're crafting with children, let them choose their favorite colors and decorate their finished boxes. Younger children may need help with precise folds. ## Fun Variations to Try After mastering the basic design, experiment with different styles. **Colorful origami boxes:** Use bright colors to create a cheerful desk organizer. **Patterned paper boxes:** Choose floral, geometric, or illustrated paper to match your workspace. **Mini storage boxes:** Start with smaller sheets to make tiny containers for lightweight items. **Matching box sets:** Make several boxes in different sizes to organize a drawer or desk. **Origami gift boxes:** Use elegant paper and coordinated colors for a handmade presentation. You can also challenge friends or family members to create their own designs and compare the results. ## Frequently Asked Questions ### How long does it take to make an origami storage box? A simple box usually takes around 5–15 minutes, depending on your experience and the folding design. ### Can beginners make an origami box? Yes! Basic origami boxes are suitable for beginners. Start with a straightforward design, use square paper, and make each crease carefully. ### What type of paper works best? Standard origami paper is an excellent choice. Lightweight construction paper or other medium-weight craft paper may also work, provided it folds neatly. ### Can I make the box without glue? Yes. Traditional origami relies on folding rather than glue. However, some variations use a small amount of adhesive to reinforce corners. ### Is an origami box strong enough for heavy items? No. A paper box is best for lightweight objects such as paper clips, erasers, and small accessories. Use a sturdier container for heavier items. ### Can I make a lid for my origami storage box? Yes. Make a second box using a slightly larger square of paper so it can fit over the first one. The exact size difference depends on your paper thickness and folding pattern. ## Final Thoughts This magical origami storage box proves that a simple sheet of paper can become something practical and beautiful. With a few careful folds, you can create a personalized organizer that helps keep your desk tidy without spending money on expensive storage products. Whether you're making one box for your study supplies or creating a colorful collection for your workspace, this DIY project is an easy way to combine creativity and organization. Gather your favorite paper, follow the folding steps, and enjoy transforming your desk one little box at a time! **Ready to try it?** Make your own origami storage box and share your favorite colors or patterns in the comments. Save this idea for your next creative afternoon! #Origami #PaperCrafts #DIY #DeskOrganization #StorageIdeas #EasyCrafts #Handmade #CreativeCrafts #OrigamiBox #DIYProjects
    DIY & Crafts

    Magical Origami Storage Box! Transform Your Desk in Seconds!

    Do you want to organize your desk while adding a…
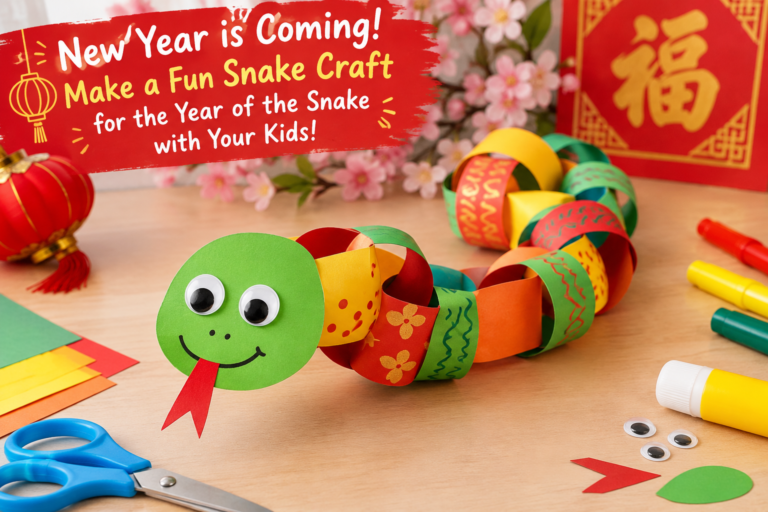
  • New Year Is Coming! Make a Fun Snake Craft for the Year of the Snake with Your Kids!
    DIY & Crafts

    New Year Is Coming! Make a Fun Snake Craft for the Year of the Snake with Your Kids!

    The New Year is the perfect time to get creative,…
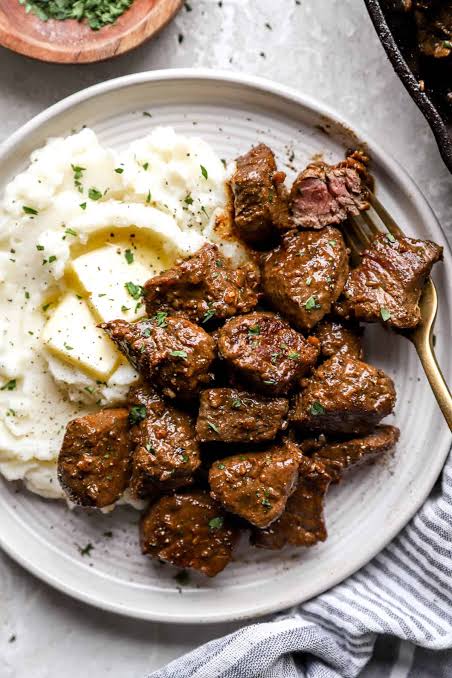
  • Garlic Butter Steak Bites (Tender, Juicy & Ready in 20 Minutes!)
    Beef

    Garlic Butter Steak Bites (Tender, Juicy & Ready in 20 Minutes!)

    If you’re looking for a quick dinner that tastes like…

  • Easy Homemade Cheesecake Recipe (Creamy, Smooth & Delicious)
    Healthy Recipes

    Easy Homemade Cheesecake Recipe (Creamy, Smooth & Delicious)

    If you love rich, creamy cheesecake with a buttery graham…
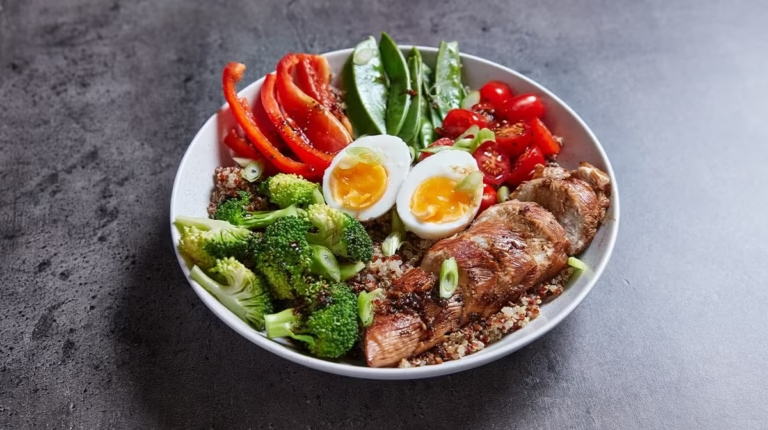
  • Healthy Chicken and Quinoa Bowl (Easy High-Protein Meal)
    Healthy Recipes

    Healthy Chicken and Quinoa Bowl (Easy High-Protein Meal)

    Looking for a healthy meal that is delicious, filling, and…
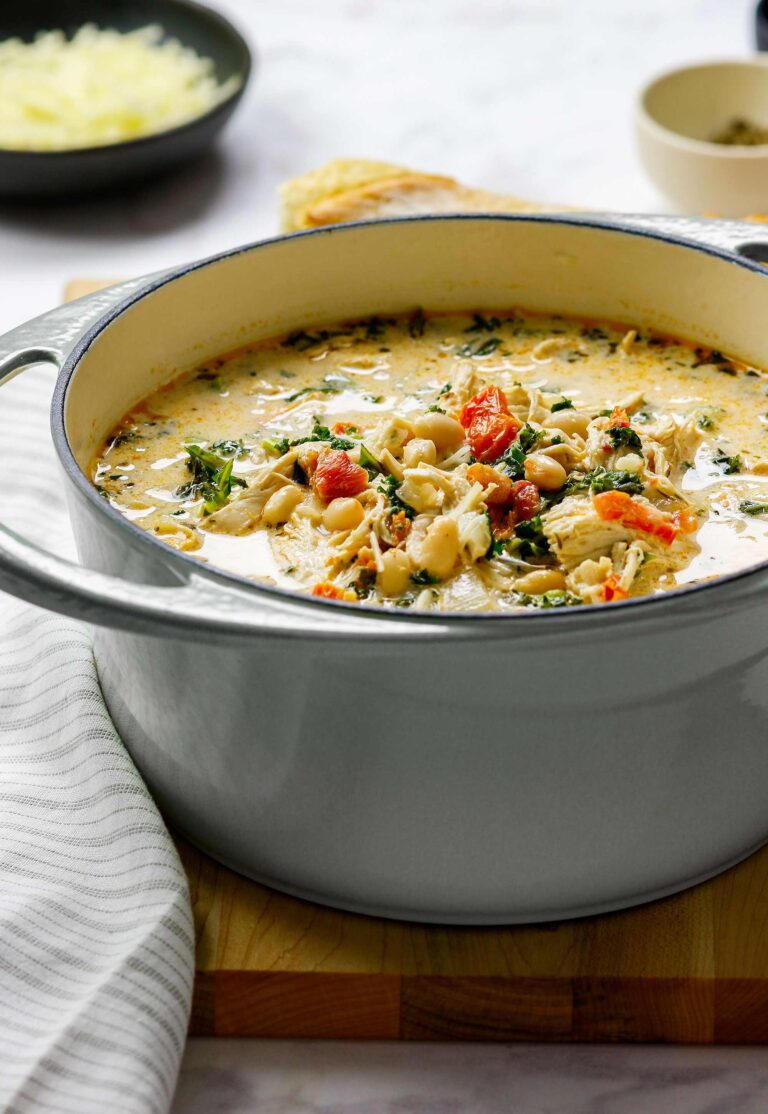
  • Creamy Tuscan Chicken Soup (Easy, Creamy & Comforting)
    Soups & Stews

    Creamy Tuscan Chicken Soup (Easy, Creamy & Comforting)

    When you’re craving a warm, comforting meal that tastes like…
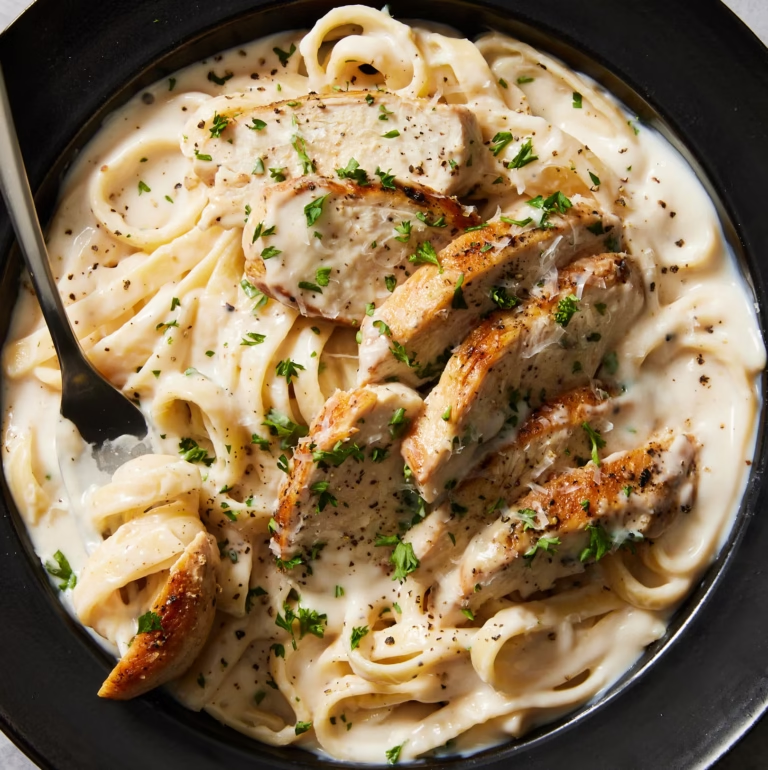
  • # Creamy Chicken Alfredo Recipe (Rich, Easy & Ready in 35 Minutes!) If you're craving a comforting pasta dinner that tastes like it came from your favorite Italian-American restaurant, this Creamy Chicken Alfredo recipe is exactly what you need. It combines tender, golden-seared chicken breast with fettuccine pasta coated in a rich, silky Parmesan cream sauce. Every bite is creamy, savory, and packed with delicious garlic flavor. The best part? You can make this homemade chicken Alfredo in about 35 minutes using simple ingredients you can find at almost any American grocery store. There's no need for complicated cooking techniques or expensive restaurant meals when you can prepare this family favorite right in your own kitchen. Whether you're planning a quick weeknight dinner, preparing a special meal for your family, or simply looking for a satisfying comfort-food recipe, this creamy chicken Alfredo is an excellent choice. Serve it with garlic bread and a fresh green salad for a complete meal everyone will look forward to eating. Once you learn how easy it is to make Alfredo sauce from scratch, you may never want to go back to the jarred version again! ## Why You'll Love This Creamy Chicken Alfredo This homemade chicken Alfredo recipe is popular for several reasons. - **Rich and creamy sauce:** Heavy cream, butter, garlic, and freshly grated Parmesan create a smooth, flavorful sauce. - **Tender, juicy chicken:** Seasoned chicken breasts are seared until golden and sliced for serving. - **Ready in about 35 minutes:** It's ideal for busy weeknights when you want a homemade meal without spending hours cooking. - **Simple ingredients:** Everything is easy to find at a typical US supermarket. - **Family-friendly dinner:** The mild, cheesy flavor makes this pasta appealing to adults and children alike. - **Better than takeout:** You can control the seasoning, sauce consistency, and portion sizes at home. ## Ingredients for Chicken Alfredo You only need a handful of ingredients to prepare this delicious pasta dinner. ### For the Chicken - 1 pound boneless, skinless chicken breasts - 1 tablespoon olive oil - ½ teaspoon garlic powder - ½ teaspoon Italian seasoning - ½ teaspoon paprika - ½ teaspoon salt, or to taste - ¼ teaspoon freshly ground black pepper ### For the Alfredo Sauce - 3 tablespoons unsalted butter - 4 garlic cloves, minced - 1½ cups heavy whipping cream - 1 cup freshly grated Parmesan cheese - ¼ teaspoon salt, plus more to taste - ¼ teaspoon black pepper - ¼ teaspoon Italian seasoning, optional - A pinch of ground nutmeg, optional ### For the Pasta - 12 ounces fettuccine pasta - 1 tablespoon salt for the pasta water, adjusted to taste - ½ cup reserved pasta water, as needed - 2 tablespoons chopped fresh parsley, optional - Extra grated Parmesan cheese for serving ### Ingredient Notes **Chicken breasts:** Boneless, skinless chicken breasts cook quickly and are easy to slice. You can also use boneless chicken thighs if you prefer darker meat. **Heavy cream:** Heavy whipping cream gives the sauce its rich texture. Lower-fat milk can produce a thinner sauce and may require a different thickening method. **Parmesan cheese:** Freshly grated Parmesan generally melts more smoothly than pre-shredded cheese. Avoid adding it to rapidly boiling cream, as excessive heat can make the sauce grainy. **Fettuccine:** This broad pasta shape is ideal for creamy sauces because the noodles hold the sauce well. Linguine, tagliatelle, or penne are also good options. ## How to Make Creamy Chicken Alfredo Follow these straightforward steps for a delicious homemade dinner. ### Step 1: Prepare the Chicken Pat the chicken breasts dry with paper towels. If they are thick, slice them horizontally into thinner cutlets or gently pound them to an even thickness so they cook evenly. In a small bowl, combine the garlic powder, Italian seasoning, paprika, salt, and black pepper. Sprinkle the seasoning mixture over both sides of the chicken. Preparing the chicken before heating the pan helps the seasoning adhere evenly and makes the cooking process easier. ### Step 2: Cook the Fettuccine Bring a large pot of water to a boil. Add salt, then cook the fettuccine according to the package instructions until al dente. Before draining, reserve about ½ cup of pasta water. This starchy water can help loosen the Alfredo sauce and help it cling to the noodles. Drain the pasta and set it aside. Avoid rinsing it, because the starch on the surface helps the sauce coat the pasta. ### Step 3: Sear the Chicken Heat the olive oil in a large skillet over medium-high heat. Add the seasoned chicken in a single layer and cook for approximately 4–6 minutes per side, depending on thickness. The exterior should become golden brown, and the center should reach an internal temperature of 165°F (74°C). Transfer the cooked chicken to a clean cutting board and let it rest for about 5 minutes before slicing it into strips. Resting helps the juices redistribute, keeping the chicken moist and flavorful. ### Step 4: Prepare the Garlic Butter Reduce the heat to medium-low. If the skillet contains excessive browned bits or burnt seasoning, carefully wipe it clean; otherwise, leave the flavorful residue in place. Add the butter and allow it to melt. Stir in the minced garlic and cook for about 30 seconds, until fragrant. Keep the garlic moving in the pan to prevent burning. Burnt garlic can give the entire sauce a bitter flavor. ### Step 5: Make the Creamy Alfredo Sauce Pour the heavy cream into the skillet and stir gently to combine it with the melted butter and garlic. Allow the cream to warm over medium-low heat for approximately 3–5 minutes, stirring occasionally. It should begin to thicken slightly, but it should not boil aggressively. Reduce the heat to low and gradually add the freshly grated Parmesan cheese, stirring continuously until it melts into the cream. Season with black pepper, a little salt, and optional Italian seasoning or nutmeg. Taste the sauce before adding extra salt because Parmesan already contributes a salty, savory flavor. If the sauce becomes too thick, add reserved pasta water a tablespoon at a time until you reach the desired consistency. ### Step 6: Combine the Pasta and Sauce Add the cooked fettuccine directly to the skillet. Using tongs, gently toss the noodles in the Alfredo sauce until they are evenly coated. If the sauce feels too thick, add another splash of reserved pasta water. Allow the pasta to warm in the sauce for approximately 1–2 minutes over low heat. Avoid prolonged cooking, as the sauce may become too thick and the noodles may soften excessively. ### Step 7: Add the Chicken Arrange the sliced chicken over the pasta, or gently toss it with the noodles if you prefer everything combined. Spoon some of the creamy sauce over the chicken to coat it lightly. Let everything warm together for another minute, then remove the skillet from the heat. Taste and adjust the seasoning if necessary. ### Step 8: Garnish and Serve Sprinkle the dish with freshly chopped parsley and additional Parmesan cheese. Serve immediately while the sauce is smooth and creamy. Pair it with garlic bread, roasted broccoli, steamed green beans, or a fresh Caesar salad for a complete restaurant-style dinner at home. ## Tips for the Best Homemade Chicken Alfredo A few simple techniques will help you achieve excellent results every time. **Use freshly grated Parmesan.** Freshly grated cheese generally melts more evenly and gives the sauce a smoother texture. **Keep the heat low when adding cheese.** High heat can cause Parmesan to clump or separate. Let the cream cool slightly before gradually stirring in the cheese. **Cook the pasta al dente.** The noodles will soften a little more when tossed in the warm sauce, so avoid overcooking them in the pot. **Reserve pasta water.** The starchy water is useful for adjusting the sauce without diluting its flavor too much. **Season the chicken separately.** Properly seasoned chicken adds flavor to every bite and balances the richness of the sauce. **Don't overcook the chicken.** Use a food thermometer and remove the chicken from the heat once it reaches 165°F in the thickest part. **Serve immediately.** Alfredo sauce thickens as it cools. Serving the pasta straight from the skillet gives you the best texture. ## Easy Variations to Try This recipe is easy to customize based on your taste and the ingredients you have available. ### Creamy Garlic Chicken Alfredo For a stronger garlic flavor, add one extra minced garlic clove to the butter. Cook it gently so it becomes fragrant without browning too much. ### Chicken Alfredo with Broccoli Add 2 cups of small broccoli florets. Steam or boil them separately until just tender, then toss them with the pasta and sauce before adding the chicken. ### Cajun Chicken Alfredo Replace the Italian seasoning and paprika on the chicken with Cajun seasoning. Start with a small amount if your seasoning blend contains a lot of salt, then adjust to taste. ### Chicken Alfredo with Mushrooms Slice 8 ounces of mushrooms and sauté them in the skillet after cooking the chicken. Once they are browned and tender, continue with the butter, garlic, and cream. ### Lighter Chicken Alfredo You can experiment with a mixture of milk and a small amount of cream, but the sauce will be less rich and may require a thickening method. Heat it gently and add the Parmesan gradually. ### Shrimp and Chicken Alfredo For a seafood-inspired variation, add cooked shrimp to the finished sauce. Cook the shrimp separately until opaque and fully cooked, then combine them with the chicken and pasta just before serving. ## What to Serve with Chicken Alfredo Because this pasta is rich and creamy, lighter sides often work especially well. - **Garlic bread:** Perfect for soaking up the remaining Alfredo sauce. - **Caesar salad:** Crisp lettuce and tangy dressing balance the richness of the pasta. - **Roasted broccoli:** Adds color, texture, and a fresh vegetable serving. - **Steamed green beans:** A simple side that pairs well with the creamy sauce. - **Roasted asparagus:** Offers a slightly earthy flavor that complements Parmesan. - **Tomato salad:** Fresh tomatoes and a light vinaigrette provide a refreshing contrast. For an easy family dinner, serve chicken Alfredo with a simple green salad and warm garlic bread. ## How to Store and Reheat Chicken Alfredo Cream-based pasta is best enjoyed fresh, but leftovers can still be delicious when stored and reheated properly. ### Refrigeration Transfer leftover pasta to an airtight container and refrigerate within 2 hours of cooking. Keep your refrigerator at 40°F (4°C) or below, and use the leftovers within 3–4 days. ### Freezing Freezing is possible, but the cream sauce may separate or become grainy after thawing. For the best texture, make the sauce fresh when possible. If you freeze leftovers, store them in a freezer-safe airtight container for up to 2 months for best quality. Thaw overnight in the refrigerator before reheating. ### Reheating on the Stovetop Place the pasta in a skillet over low heat. Add a splash of milk, cream, or water and stir gently until the sauce loosens. Heat until the chicken and pasta reach 165°F (74°C). Avoid high heat, which can cause the sauce to separate. ### Reheating in the Microwave Place an individual portion in a microwave-safe dish and add a small splash of milk or water. Cover loosely and heat in short intervals, stirring between intervals until heated through. Avoid repeatedly reheating the same portion. ## Frequently Asked Questions ### Can I make Chicken Alfredo ahead of time? Yes. You can cook the chicken and pasta ahead of time, but the sauce is best prepared shortly before serving. If you prepare the complete dish in advance, refrigerate it promptly and reheat gently with a splash of cream or milk. ### Why is my Alfredo sauce too thick? The sauce may have reduced too much or cooled down. Stir in reserved pasta water, milk, or cream a tablespoon at a time until it reaches your preferred consistency. ### Why did my Alfredo sauce become grainy? This often happens when the cheese is added over excessive heat or does not melt evenly. Reduce the heat to low, add the Parmesan gradually, and stir continuously. Freshly grated cheese also helps. ### Can I use milk instead of heavy cream? Yes, but the result will be thinner and less rich. You may need a different thickening method, and milk can be more sensitive to high heat. Heavy cream is the most reliable option for this version. ### What pasta works best for Chicken Alfredo? Fettuccine is the classic choice, but linguine, tagliatelle, penne, and spaghetti also work well. Follow the package directions and reserve some pasta water before draining. ### Can I use rotisserie chicken? Absolutely. Shredded rotisserie chicken is a convenient shortcut. Prepare the Alfredo sauce, then stir in the cooked chicken until heated through before combining it with the pasta. ### Is Chicken Alfredo spicy? Traditional creamy chicken Alfredo is usually mild. You can add red pepper flakes or Cajun seasoning if you prefer a little heat. ### How do I know when the chicken is done? The safest method is to use an instant-read food thermometer. Insert it into the thickest part of the chicken and confirm it reaches 165°F (74°C). ## Final Thoughts This Creamy Chicken Alfredo recipe proves that a comforting, restaurant-inspired dinner doesn't have to be complicated. With tender chicken, perfectly cooked fettuccine, garlic butter, heavy cream, and Parmesan cheese, you can create a satisfying homemade meal in about 35 minutes. The recipe is easy to customize with vegetables, mushrooms, or extra garlic, making it a versatile addition to your weekly dinner menu. If you try this recipe, share your favorite variation and let us know how it turned out. Explore **All Unique Recipes** for more easy pasta dinners, family-friendly meals, and delicious homemade recipes. --- ## SEO Information **SEO Title:** Creamy Chicken Alfredo Recipe – Easy 35-Minute Dinner **Meta Description:** Make creamy Chicken Alfredo at home in 35 minutes with tender chicken, fettuccine, garlic, heavy cream, and Parmesan for an easy family dinner. **Suggested URL Slug:** `creamy-chicken-alfredo` **Primary Keyword:** Creamy Chicken Alfredo **Related Keywords:** - Easy Chicken Alfredo recipe - Homemade Chicken Alfredo - Creamy Alfredo sauce - Chicken Fettuccine Alfredo - Easy creamy pasta recipes - Chicken Alfredo with heavy cream **Suggested Image Alt Text:** Creamy chicken Alfredo with sliced golden chicken breast, fettuccine pasta, and homemade Parmesan cream sauce. --- ## Printable Recipe Card ### Creamy Chicken Alfredo **Prep Time:** 10 minutes **Cook Time:** 25 minutes **Total Time:** 35 minutes **Servings:** 4 **Category:** Pasta Recipes **Cuisine:** Italian-American **Cooking Method:** Stovetop ### Ingredients **Chicken** - 1 pound boneless, skinless chicken breasts - 1 tablespoon olive oil - ½ teaspoon garlic powder - ½ teaspoon Italian seasoning - ½ teaspoon paprika - ½ teaspoon salt - ¼ teaspoon black pepper **Pasta and Sauce** - 12 ounces fettuccine - 3 tablespoons unsalted butter - 4 garlic cloves, minced - 1½ cups heavy whipping cream - 1 cup freshly grated Parmesan cheese - ¼ teaspoon salt, plus more to taste - ¼ teaspoon black pepper - ½ cup reserved pasta water, as needed - 2 tablespoons chopped fresh parsley, optional ### Instructions 1. Season the chicken with garlic powder, Italian seasoning, paprika, salt, and black pepper. 2. Boil the fettuccine in salted water according to the package directions until al dente. Reserve ½ cup pasta water, then drain. 3. Heat olive oil in a skillet over medium-high heat. Cook the chicken for approximately 4–6 minutes per side, depending on thickness, until it reaches 165°F (74°C). Rest for 5 minutes and slice. 4. Reduce the heat to medium-low. Melt the butter in the skillet and cook the minced garlic for about 30 seconds. 5. Pour in the heavy cream and simmer gently for 3–5 minutes. 6. Reduce the heat to low and gradually stir in the Parmesan cheese until melted. Season with salt and black pepper. 7. Add the cooked fettuccine and toss until coated. Add reserved pasta water a little at a time if needed. 8. Arrange the sliced chicken over the pasta and warm gently for another minute. 9. Garnish with parsley and extra Parmesan, then serve immediately. **Storage:** Refrigerate in an airtight container for 3–4 days. Reheat gently with a splash of cream, milk, or water. **Recipe Notes:** Cooking times depend on chicken thickness and pasta brand. Use a thermometer to verify that the chicken reaches 165°F (74°C). **Estimated Nutrition Per Serving:** Approximately 650–800 calories, 35–45 g protein, 45–60 g carbohydrates, and 35–50 g fat. Actual nutrition will vary based on ingredient brands, pasta portions, and the amount of sauce consumed.
    Pasta Recipes

    Creamy Chicken Alfredo Recipe (Rich, Easy & Ready in 35 Minutes!)

    If you’re craving a comforting pasta dinner that tastes like…
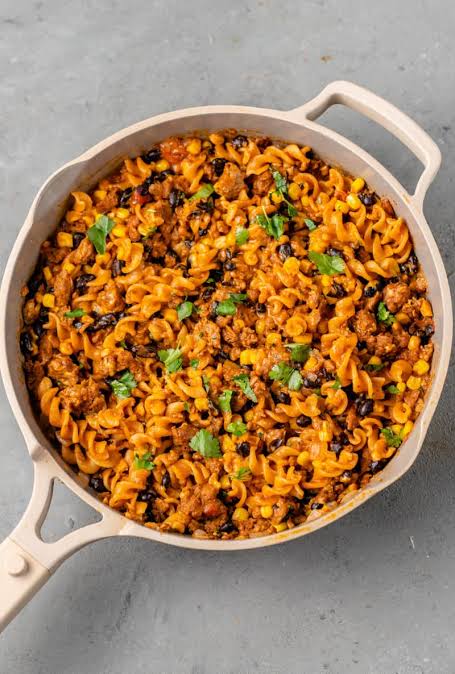
  • Easy One-Pot Taco Pasta Recipe (Ready in 30 Minutes!)
    Quick & Easy

    Easy One-Pot Taco Pasta Recipe (Ready in 30 Minutes!)

    Looking for a quick, delicious dinner that your whole family…
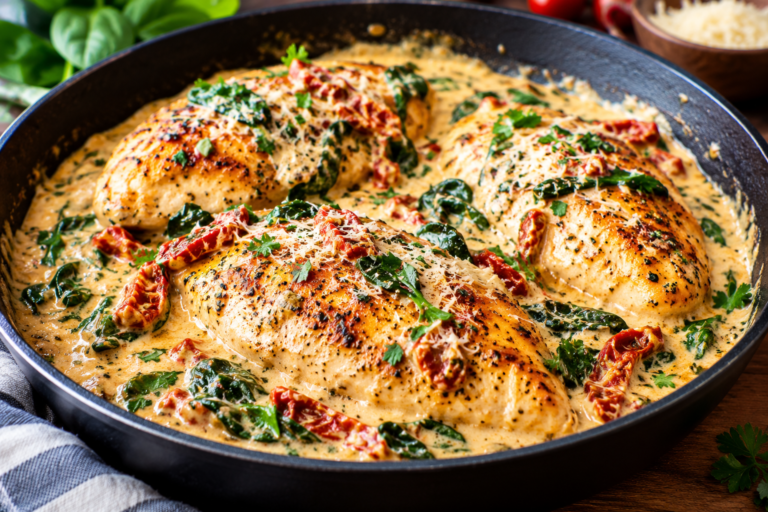
  • Chicken Recipes
    Chicken Recipes

    Creamy Tuscan Chicken Recipe (Easy, Rich & Delicious)

    Looking for a restaurant-quality chicken dinner you can make at…

Page navigation

Previous PagePrevious 1 … 7 8 9

© 2026 alluniquerecipes

  • Disclaimer
  • Terms of use
  • Privacy policy
  • Home
  • Recipes
    • Beef
    • Chicken Recipes
    • Pasta Recipes
    • Quick & Easy
    • DIY & Crafts
    • Soups & Stews
    • Healthy Recipes
  • Blog
  • About
  • Contact
Search