
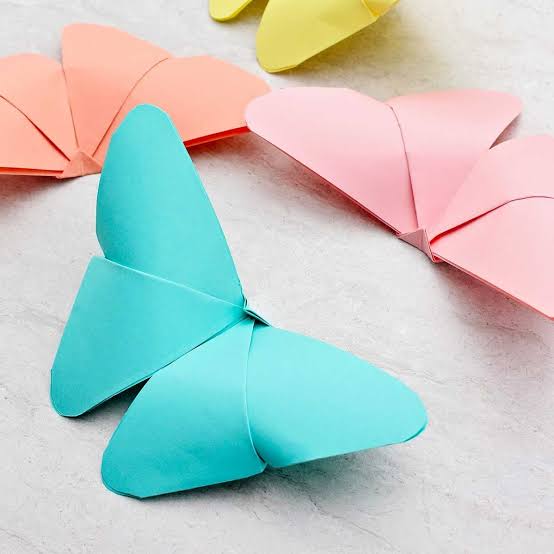
Easy 3D Butterfly Bookmark – Fun Origami Craft!
Step 2: Fold the Butterfly Wings
Take your first square sheet of paper and fold it diagonally to form a triangle. Unfold it, then fold along the other diagonal to create another crease.
Open the paper again so the diagonal guidelines are visible.
Next, fold the paper using an accordion or fan-folding technique, making small, even folds from one edge to the other. These folds create a textured, dimensional appearance when the wings are opened.
Repeat with the second sheet if you want a layered butterfly with contrasting colors.
Step 3: Shape the Wings
Gently open the folded paper to reveal the wing shape. Pinch the center of each folded piece to create a narrow middle section.
Adjust the outer edges so the wings spread outward like a butterfly in flight.
For a more decorative 3D effect, gently lift the folds instead of pressing everything completely flat.
Step 4: Make the Butterfly’s Body
Cut a thin strip of paper for the butterfly’s body. Fold it lengthwise or roll it gently to create a narrow center.
Position the body between the two wing sections and secure it with a small amount of glue or double-sided tape.
Allow the adhesive to dry before moving on to the next step.
Step 5: Add Antennae and Decorations
Cut two very thin strips of paper for the antennae, or draw them directly onto the butterfly’s body.
Use markers to add tiny spots, curved lines, or patterns to the wings. You can also add small paper circles or stickers.
Avoid adding too much weight, especially if the bookmark will be used frequently.
Step 6: Prepare the Bookmark Base
Cut a strip of cardstock or sturdy paper approximately 1.5 inches wide and 6 inches long. Adjust the length to suit the books you usually read.
Round the corners with scissors if desired.
Decorate the strip with a simple border, a small flower, or a handwritten message such as “Keep Reading” or “Just One More Chapter.”
Step 7: Attach the Butterfly
Apply a small amount of glue to the center of the butterfly’s body and attach it near the top of the bookmark base.
Press gently and let the adhesive dry completely.
For a bookmark that sits between pages, keep the wings relatively lightweight and avoid making the butterfly too bulky. You can also attach a smaller butterfly to the corner of a page using a folded-paper corner design.
Step 8: Enjoy Your Handmade Bookmark
Once everything is dry, your 3D butterfly bookmark is ready to use!
Slide it gently between the pages of your favorite book to remember where you stopped reading. When the book is closed, the colorful butterfly adds a delightful handmade detail.