
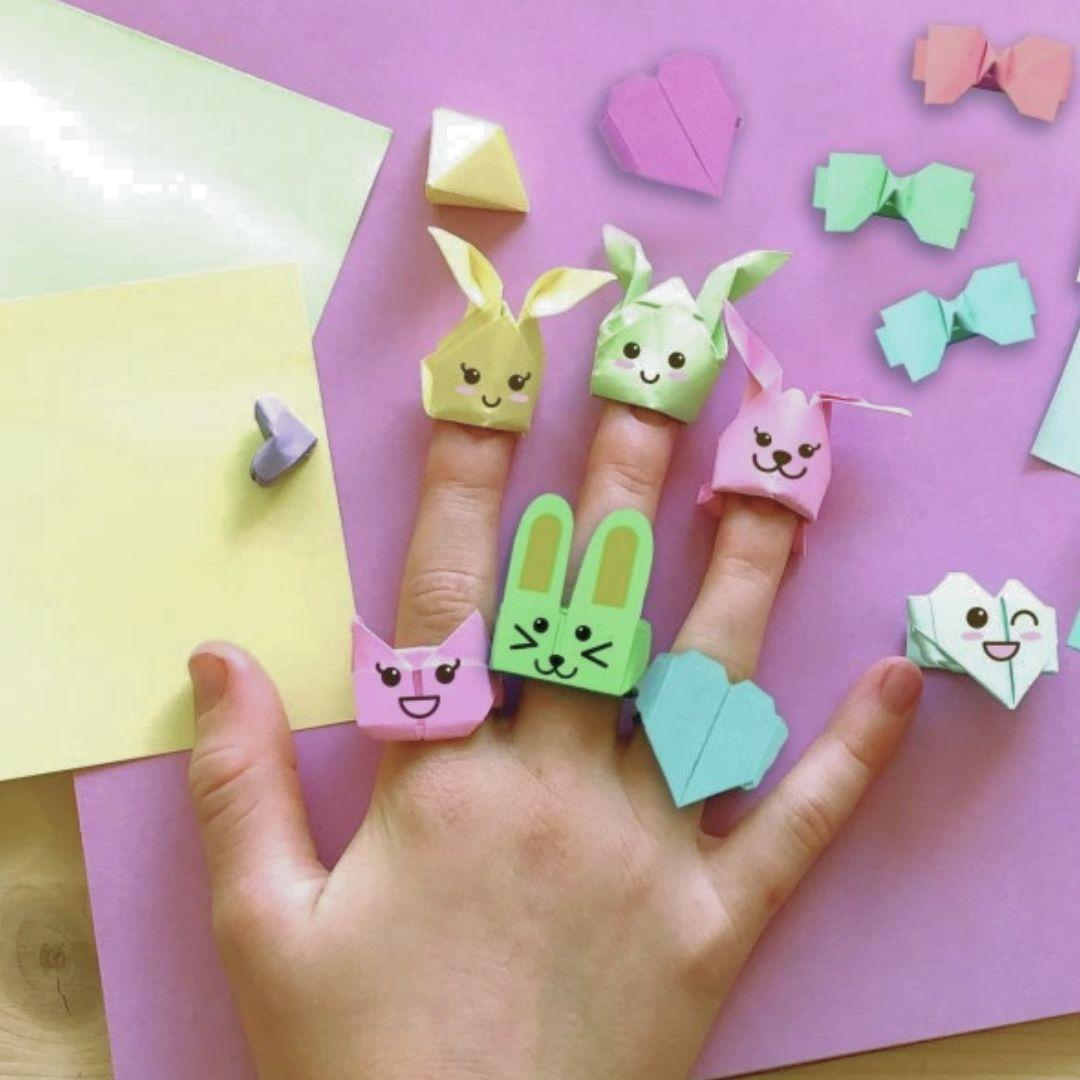
Easy DIY Paper Finger Puppets for Kids – Colorful Bunny Craft
Fun Activities Using Paper Finger Puppets
Once the puppets are finished, the fun does not have to stop. These little paper characters can be used in many creative activities.
1. Create a Puppet Show
Encourage children to invent a short story featuring their colorful puppets. They can make the characters talk, move around, and interact with one another.
A simple cardboard box can become a miniature stage for a homemade puppet show.
2. Practice Color Recognition
Make puppets in different colors and ask children to identify them. You can also ask them to sort the puppets by color or arrange them in a particular order.
This turns a simple craft into an enjoyable learning activity.
3. Develop Imagination and Storytelling
Ask children to create a story about where their puppets live, what they enjoy doing, and what adventures they experience.
This activity encourages creativity, communication, and imaginative thinking.
4. Improve Fine Motor Skills
Cutting paper, folding strips, applying glue, and drawing tiny faces provide opportunities for children to practice hand coordination and precision.
Younger children may need help with the cutting and assembly stages.
5. Make a Handmade Gift
Create a complete set of colorful finger puppets and place them inside a small handmade paper box. This makes a thoughtful, personalized gift for a child who enjoys creative play.
Tips for Making Perfect Paper Finger Puppets
Follow these simple tips to achieve a neat and attractive result:
- Measure the paper strip carefully before forming the ring.
- Avoid making the finger opening too tight.
- Use lightweight paper for the ears so they remain easy to shape.
- Apply glue sparingly to prevent the paper from becoming soggy.
- Allow the glue to dry before playing with the puppets.
- Draw the facial features before attaching extra decorations if that is easier.
- Reinforce the overlapping ends with a small piece of tape if the ring keeps opening.
If your first puppet does not look exactly as expected, do not worry. Paper crafts become easier with practice, and small differences can make each creation more charming.
Frequently Asked Questions
Are paper finger puppets easy to make?
Yes! This is a beginner-friendly craft that requires only a few basic materials and simple cutting and gluing techniques. Children can personalize the designs with their favorite colors and expressions.
What type of paper works best?
Construction paper and origami paper are excellent choices. Construction paper creates a sturdy body, while origami paper offers many colors and patterns.
Can I make other animals using the same method?
Absolutely! You can create cats, foxes, bears, frogs, chicks, and many other animals. Simply change the shapes of the ears, facial features, and decorations.
How long does it take to make a puppet?
A simple puppet usually takes around 10–20 minutes to assemble, depending on the amount of decoration and the time needed for the glue to dry.
Are these crafts suitable for preschool children?
Yes, with adult supervision. Younger children can choose colors, decorate the faces, and help assemble the puppets, while adults handle any cutting that requires sharper scissors.
How can I make the puppets last longer?
Use slightly thicker paper, secure the ring firmly, and store the puppets in a dry place. Handle the ears gently to prevent tearing.
Final Thoughts
These easy DIY paper finger puppets are a wonderful way to transform ordinary colored paper into adorable handmade characters. With their bright colors, long ears, and cute expressions, they are perfect for children’s activities, classroom projects, and imaginative play at home.
Whether you make one puppet or a whole collection, this simple craft offers an enjoyable opportunity to explore creativity and create something special with your own hands.
Gather your paper, choose your favorite colors, and enjoy making your own colorful finger puppets!